Command Line Tools
在安裝 MacOS 的套件管理工具 homebrew 前需要先安裝 Command Line Tools。
登入Apple Developer 搜尋 Command Line Tools, 下載符合你 Mac 系統的版本的 dmg 並安裝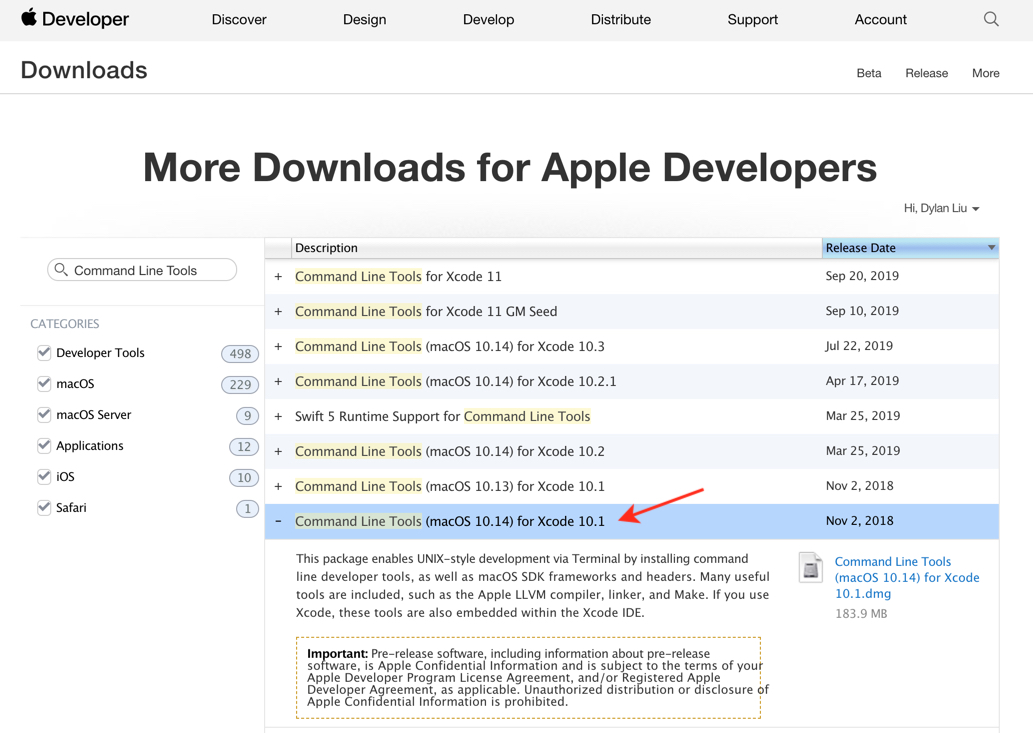
homebrew
Command Line Tools 安裝成功後後, 打開終端機輸入指令
1 | /usr/bin/ruby -e "$(curl -fsSL https://raw.githubusercontent.com/Homebrew/install/master/install)" |
出現 Installation successful 即安裝成功
確認版本
1 | brew -v |
Iterm2 終端機
Iterm2 是可以取代 Mac OSX 的預設 Terminal 的套件,提供了比 terminal 更多樣化的功能,透過安裝 zsh shell 及 zsh 的管理套件 oh-my-zsh,讓我們可以輕鬆的管理 zsh 的設定檔,並且支援許多 plugin 及 theme。
安裝
1 | brew cask install iterm2 |
另外 iterm2 還提供了多樣了配色樣式, 可以到 iTerm2-Color-Schemes 挑選喜歡的配色, 右上角有下載的標示可以整包下載下來,解壓縮後在 schemes 資料夾中有許多副檔名為 .itermcolors 的配色檔可以使用, 透過以下操作將檔案 import 進去使用

zsh
接著我們要安裝 ZSH ,這是用來取代 BASH 的一種工具,打開 Terminal 輸入
安裝
1 | brew install zsh zsh-completions |
確認版本
1 | zsh --version |
接著要將預設終端機窗口改為 ZSH,一樣在終端機輸入
1 | chsh -s /bin/zsh |
接者要重啟 Iterm2,接著輸入以下指令確認是否設定成功
1 | echo $SHELL |
應該會看到顯示 /usr/local/bin/zsh
oh-my-zsh
oh-my-zsh 是一個用來管理 ZSH 設定檔(configuration)的框架,提供了很多的外掛和主題可以選擇。
安裝
1 | sh -c "$(curl -fsSL https://raw.github.com/robbyrussell/oh-my-zsh/master/tools/install.sh)" |
套用主題
1 | open ~/.zshrc |
接著會打開 zsh 的設定檔,找到 ZSH_THEME= "…",將這段的內容改成下面這段後存檔
1 | ZSH_THEME="agnoster" |
字體修改
安裝字型
1 | brew tap caskroom/fonts |
1 | brew cask install font-hack-nerd-font |
設定下載的字型
1 | itrem2 -> Preferences -> profiles -> text -> font -> 選擇 Hack nerd font |
另外 VScode 可能因為預設字體不支援的關係, 在內建整合的終端機使用 zsh 會有亂碼問題, 我們可以使用 Powerline fonts @ github 字型包解決
安裝
1 | # clone 複製 |
開啟 VScode, 使用快捷鍵 command + shift + p 搜尋並開啟 setting.json 設定檔案並貼上
1 | { |
powerlevel9k 主題
這部分可以依照個人喜好, 可做可不做
powerlevel9k 風格是承襲 agnoster ,不同的地方是新增了一些小功能像是版控資訊、電池狀態、硬碟狀況、ip位置、時間、還有小圖icon …等讓使用者自行設定。
安裝
1 | git clone https://github.com/bhilburn/powerlevel9k.git ~/.oh-my-zsh/custom/themes/powerlevel9k |
開啟設定檔案
1 | open ~/.zshrc |
貼上以下設定 (貼在ZSH_THEME="agnoster" 後即可 ), 若需要更多客製設定可至官網查看文件
1 | # 使用powerlevel9k主題亦可選擇使用agnoster或預設robbyrussell |
成果大概會是這個樣子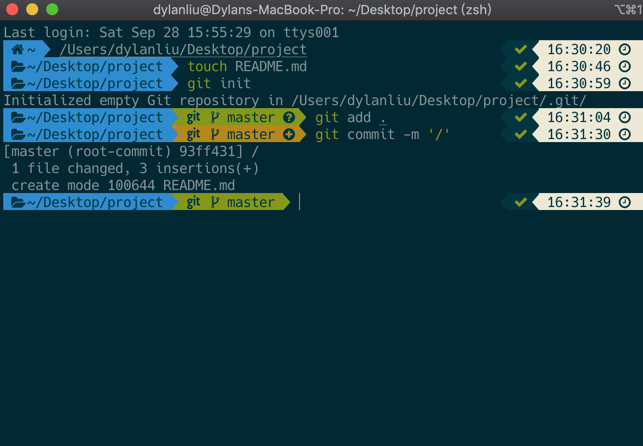
其他 zsh 外掛
Autojump 資料夾路徑提示
安裝
1 | brew install autojump |
Autosuggestions
Autosuggestions 會根據過去所輸入的指令來提示你的工具
1 | git clone https://github.com/zsh-users/zsh-autosuggestions ${ZSH_CUSTOM:-~/.oh-my-zsh/custom}/plugins/zsh-autosuggestions |
zsh-syntax-highlighting
程式碼高亮工具
1 | git clone https://github.com/zsh-users/zsh-syntax-highlighting.git ${ZSH_CUSTOM:-~/.oh-my-zsh/custom}/plugins/zsh-syntax-highlighting |
最後還需要設定 iterm2 的
zshrc設定檔
進入設定
1 | open ~/.zshrc |
1 | plugins=( |
nvm & node.js
安裝
1 | curl -o- https://raw.githubusercontent.com/nvm-sh/nvm/v0.34.0/install.sh | bash |
查詢 node 有哪些版本
1 | nvm ls-remote |
下載指定版本
1 | nvn install 10.14.1 |
切換版本
1 | nvm use 10.14.1 |
查詢是否安裝成功
1 | node -v |
參考資料
PJCHENder 那些沒告訴你的小細節
用Oh My Zsh把iTerm變美美
[ Alex 宅幹嘛 ] 👨💻 網頁前端開發的 Macbook 初始化安裝