檔案結構
1 | — app.js |
app.js
- 後端邏輯程式碼
views
- HTML 檔案, 分別是首頁、發表留言頁、404警告頁
public
- 靜態資源資料夾, 包含所有第三方套件、圖片、前端js檔、css檔, 這些在 HTML 標籤中, 如
<link><script><img>所請求的資源
views
使用 bootstrap 來製作簡易的介面
index.html

1 | <div class="header container"> |
post.html
1 | <div class="header container"> |
app.js
起手式
1 | const http = require('http') |
在用 Node.js 實作一個 Apache HTTP Server中, 是這樣建立服務的
1 | const server = http.createServer() |
現在我們可以簡化成以下寫法, 結果是一樣的
1 | http.createServer(function (req res) { |
取得請求路徑
當瀏覽器發送請求到伺服器端時, 需要根據請求過來的網址, 回傳對應的 html 頁面回去, 首先我們需要先得到網址的字串資料, 最簡易的方式是像這樣的
1 | http.createServer(function (req, res) { |
如果請求的網址是 127.0.0.1:3000/comment, url 的輸出結果則為 /comment。
但是, 當使用者在留言時所傳送的網址可能會副帶 query string 參數, 像是這樣
1 | 127.0.0.1:3000/comment?name=dylan&message=今天天氣真好 |
這時候 url 的值為 /comment?name=dylan&message=今天天氣真好, 這些傳送的參數是不可能每次都一樣的, 這個情況下, 如果使用 if (url === '/comment') 這樣的判斷方式是會有問題的。
因此我們需要確保請求網址傳過來時, 能夠將請求路徑區與夾帶的 query string 區分開。
使用 Node.js 的 url 核心模組, 使用方法請參考此篇:使用 JS 取得 Query String 資料
1 | http.createServer(function (req, res) { |
現在, 如果像這樣 127.0.0.1:3000/comment?name=dylan&message=今天天氣真好 的請求傳來時, url 模組的 parse 方法可以幫助我們將網址進行處理。
輸出 urlObj.pathname 可以得到請求路徑
1 | /comment |
urlObj.query 幫助我們將 query 處理成物件
1 | {name: 'dylan', message: '今天天氣真好'} |
接著可以把判斷方式改為這樣, 就能避免問題了
1 | if (pathname === '/comment') { |
公開的靜態資源
這個留言板中只有一個靜態資源 bootstrap, 位置在 public → lib → bootstrap.css
1 | — public |
以往我們在做前端開發的經驗中, 通常使用相對路徑來引入 JS、CSS 或圖片檔案, 像是:
1 | <link rel="stylesheet" href="../node_modules/bootstrap/dist/css/bootstrap.css"> |
現在可以改成使用絕對路徑, 如果請求路徑是以 /public/ 開頭, 則伺服器認定需要往 public 資料夾中的某個資源, 所以我們就直接可以把請求路徑當作文件路徑來直接進行讀取
1 | <link rel="stylesheet" href="/public/lib/bootstrap.css"> |
1 | http.createServer(function (req res) { |
若有其他的靜態資源也可以如法炮製
1 | — public |
1 | <script src="/public/js/main.js"></script> |
處理 index.html
撰寫 / 請求的伺服器回應
1 | if (pathname.indexOf('/public/') === 0) { |
模板引擎動態渲染留言資料
目前的程式碼只會回傳靜態的頁面, 因此還需要使用模板引擎動態渲染留言的資料到 index.html 上。
這邊和上次製作 Apache Server 一樣, 使用 art-template 套件。
使用方法可以參考在 Node.js 中使用 art-template 模板引擎。
宣告一個處理留言資料的物件, 先寫死兩個留言資料, 屬性有
name 留言者message 留言內容dateTime 留言時間
1 | let comments = [ |
使用 art-template 模板引擎
app.js
1 | const template = require('art-template') |
1 | if (pathname.indexOf('/public/') === 0) { |
index.html
1 | <ul class="list-group"> |
效果
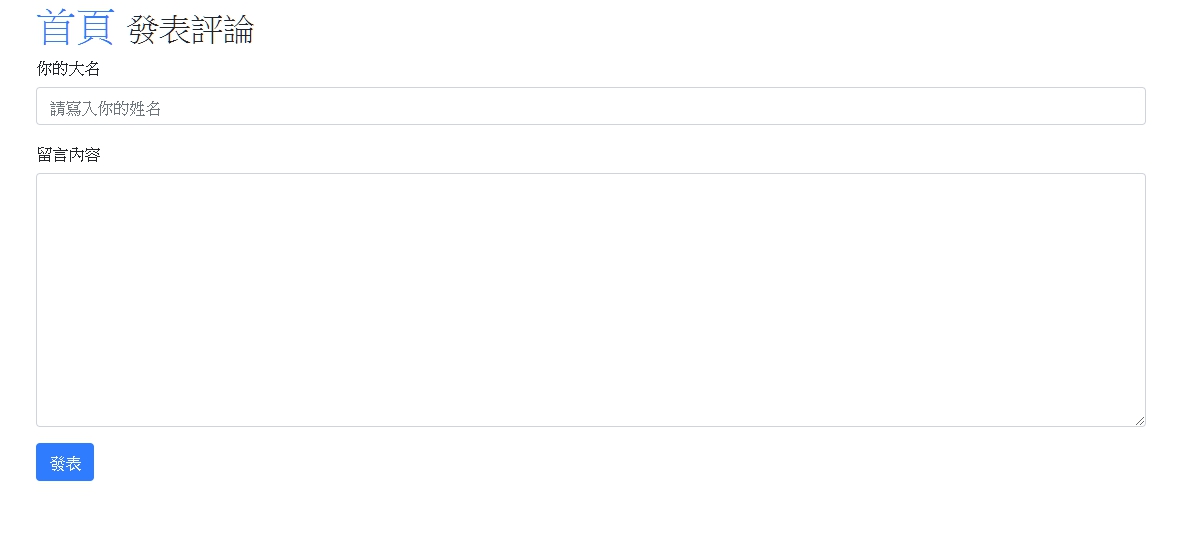
處理 post.html
撰寫 /post 請求的伺服器回應
當點擊首頁中的發表留言按鈕時, 瀏覽器會向伺服器發起 127.0.0.1:3000/post 請求, 隨即跳轉至 post.html 頁面
1 | <!-- index.html --> |
改為
1 | <a class="btn btn-success mb-4" href="/post">發表留言</a> |
1 | // .. |
使用 HTML 表單發送資料
當使用者點擊發送按鈕時, 將表單資料送往後端
1 | <!-- post.html --> |
action="/comment" 在發送時, 瀏覽器會透過 127.0.0.1:3000/comment 向伺服器發起請求, get 方法則會將表單內具有 name 屬性的表單元素的值, 透過 query string 的方式發送資料。
簡單的原生 HTML 表單驗證
1 | <input type="text" class="form-control" required minlength="2" maxlength="10" id="input_name" name="name" placeholder="請寫入你的姓名"> |
1 | <textarea class="form-control" name="message" id="textarea_message" cols="30" rows="10" required minlength="5" maxlength="20"></textarea> |
required 為必填項目, minlength 及 maxlength 分別代表最低字數與最多字數限制
撰寫 /comment 請求的伺服器回應
1 | } else if (pathname === '/post') { |
如文章一開始所提, 在使用者送出留言後, 會使用像是 127.0.0.1:3000/comment?name=dylan&message=今天天氣真好 的網址傳送到伺服器, 然而現在我們已經可以透過 url.parse 方法取得物件格式的 query string 資料, 當收到此請求時將該 query string 物件推入 comments 留言物件中, 就完成了資料的更新。
資料雖然已經更新, 但使用者還是停留在 post 頁面, 我們需要透過伺服器重新導向到首頁。
- 狀態碼設定為 302 臨時重新導向
- 在 Response Header 中通過 Location 告訴瀏覽器導向到哪一頁
如果瀏覽器發現收到伺服器的狀態碼是 302, 它會自動去 Response Header 中找 Location, 然後對伺服器重新發請求, 接著你就能看到瀏覽器自動跳轉了。
當使用者被重新導向到首頁時, 新的資料已經透過模板引擎重新渲染成新的首頁 HTML 發送給瀏覽器了, 如此一來, 使用者就能順利看到新的留言呈現在首頁上。
DEMO